 irrealix
Plugins
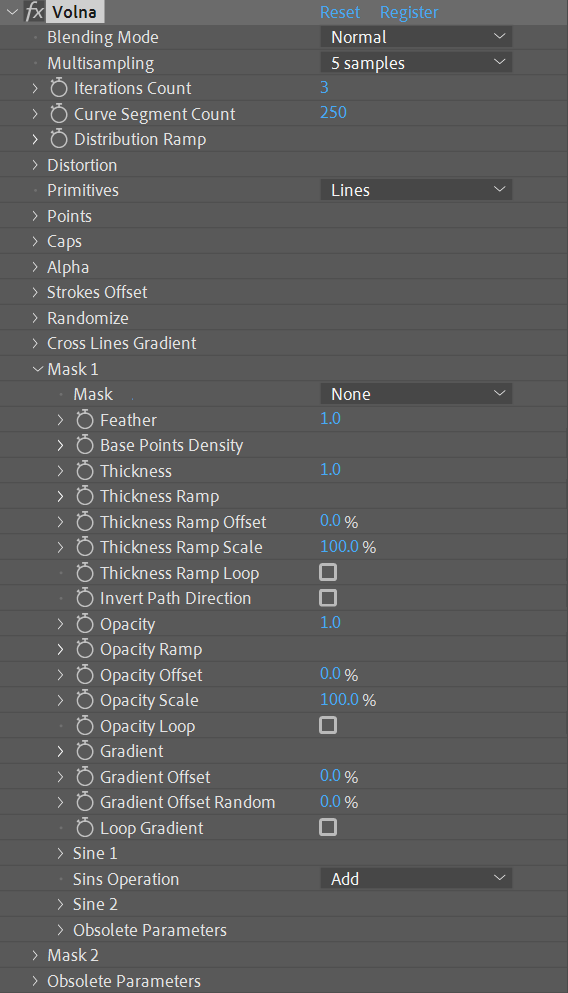
Blend Strokes or Points if they intrsect with each others. Possible values is Normal and Add.
Multisampling with 5 samples used to reduce aliasing on thin lines or points.
Count of strokes to draw in blend between pathes with two Masks selected. If only one Mask selected plugin draws copies in stack on each other.
Base Points count to draw Lines or Points.
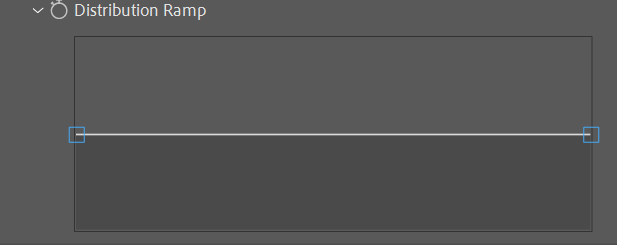
This Ramp can adjust Lines distribution in blend to make non-linear distribution. Double click on line to add new point. Double click on point to remove it. Hold ctrl and click on control to change interpolation method.
Chose Lines or Points to draw.
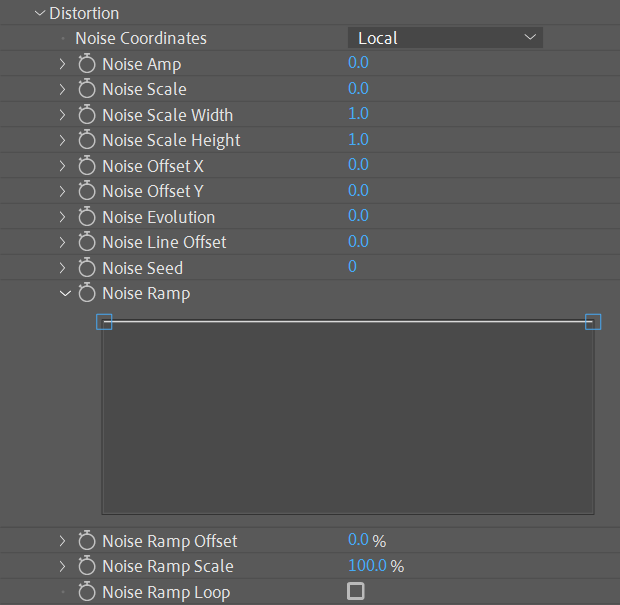
Set of parameters to distort lines with Gassian Noise.
Choose between Local and Screen. With Local coordinates noise distributes along the Mask path. In Screen mode noise is based on screen coordinates to make nice loops with closed shapes.
Set of parameters to make Gaussian Noise drive position of the Base Points.
This Ramp can define noise amplitude along the Mask path. Double click on line to add new point. Double click on point to remove it. Hold ctrl and click on point to change interpolation method.
Points tab affects on result only in Points mode.
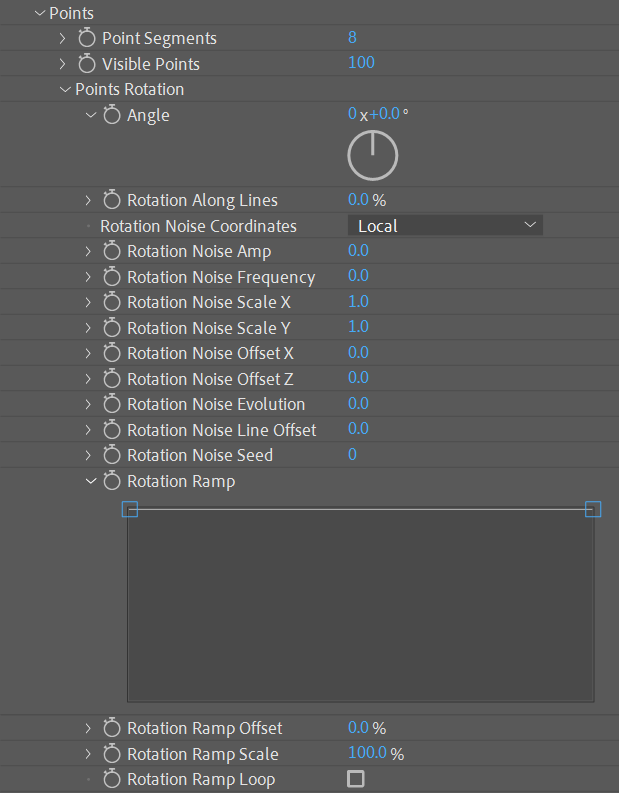
Points draws as a cirlces, Point Segments sets dots count in circle. With 4 segments Points draws as a box, with 3 as a triangle. Keep it small as possible to optimize render speed.
Probability in percent defines how many points to draw.
Set of parameters to rotate Points.
Common angle to rotate all Points.
With 100% allows Points to follow path curve.
Set of parameters to make Gaussian Noise drive rotation of the Points.
This Ramp multiplies with Noise Amplitude to determine Noise Amplitude distribution alogn path. Double click on line to add new point. Double click on point to remove it. Hold ctrl and click on point to change interpolation method.
Set of parameters determines how ends of the strokes should look. Arrows, round ends or none.
Arrows has independed controls since v2.0.
Choose between two arrows, round or none to set how is Begin/End of stroke should look.
If Arrow as Cap selected this parameter sets Length of Arrow.
If Arrow as Cap selected this parameter sets Angle of Arrow.

Set of parameters to set opacity for the Base Poins (For both Lines and Points modes).
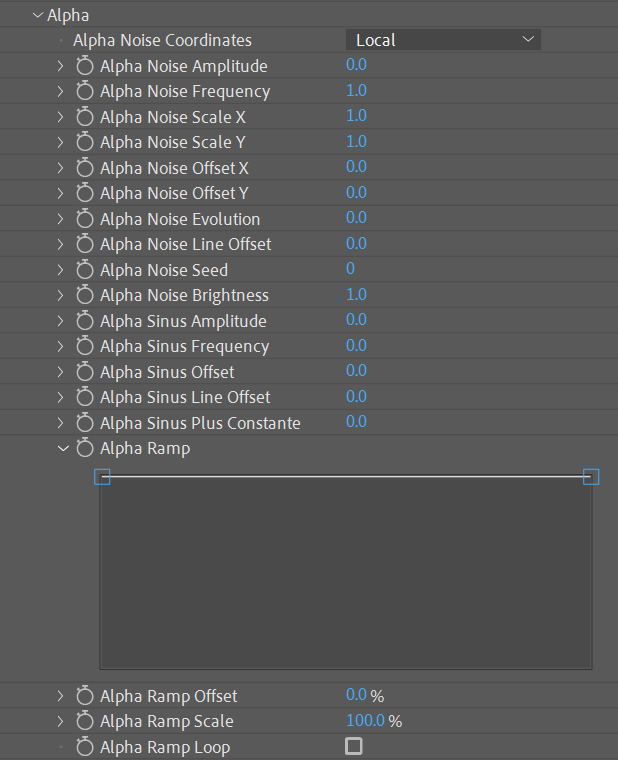
Choose between Local and Screen. With Local coordinates noise distributes along the Mask path. In Screen mode noise is based on screen coordinates to make nice loops with closed shapes.
Set of parameters to make Gaussian Noise drive opacity of the Base Points.
Set of parameters to distribute Base points opacity with Sine function.
This Ramp can define opacity along the Mask path. Double click on line to add new point. Double click on point to remove it. Hold ctrl and click on point to change interpolation method.
Set of parameters to offset and animate Strokes.
Offset for Begin and End.
Defines in percent segment in Mask path to start drawing stroke.
Defines in percent segment in Mask path to finish drawing stroke.
Allows to make infinite loop to offset the Strokes.

Set of parameters to add some randomnes in lines generation.

Defines randomization for lines copies distribution. Works only with two Masks.
Defines randomization for Strokes Offset.
Randomize order of lines Gradient to render in blend.
Adds some thickness variations to lines copies.
Adds opacity variations to lines copies.
Sets unique random sequence.
Set of parameters to draw gradient across the lines.
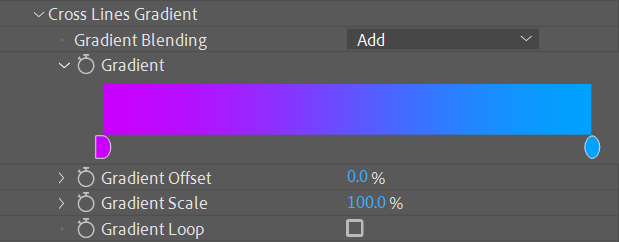
Blending mode to mix lines color with Cross Lines gradient.
Double click on control adds Color Point. Double click on Color Points hadle to chose the color. Click and drag on handle to move the Color Point. To remove the Color Point click and drag mouse down.
Offsets whole gradient.
Set for example to 200% to draw gradient two times.
Loops Gradient to make possible Offset infinite.
Set of parameters to set shape with Mask 1.
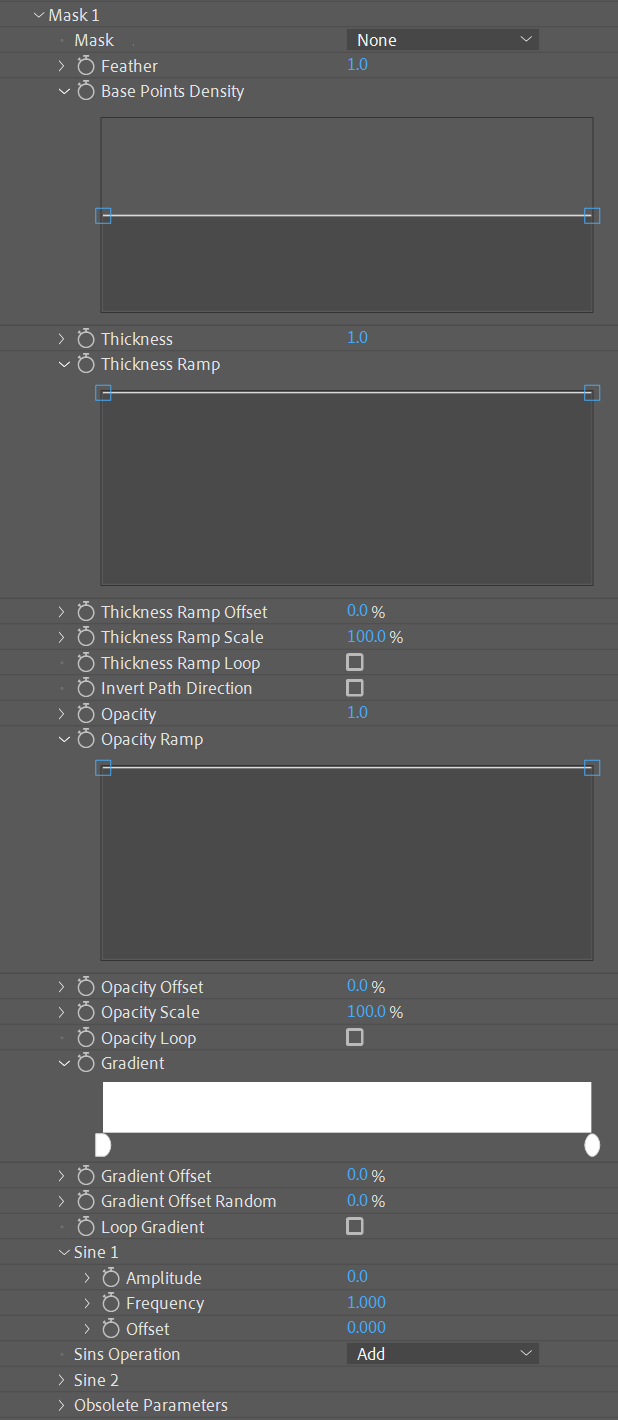
Choose one of the layer masks.
Important!
You need o choose atleast one mask to make plugin works.
Defines smoothness of Stroke in pixels.
Alows control points distribution along path to fine control and compensate paths blending. Double click on line to add new point. Double click on point to remove it. Hold ctrl and click on control to change interpolation method.
Defines Stroke Thickness in pixels
Defines Stroke Thickness along the Path. Multiplied with Tickness. Double click on line to add new point. Double click on point to remove it. Hold ctrl and click on point to change interpolation method.
Allows to offset Ramp along the Path.
Scales Ramp along path.
Allows looping to make offset infinite.
Inverts Path to change it's direction.
Defines Stroke Opacity.
Defines Stroke Opacity along the Path. Multiplied with Opacity. Double click on line to add new point. Double click on point to remove it. Hold ctrl and click on point to change interpolation method.
Allows to offset Ramp along the Path.
Scales Ramp along path.
Allows looping to make offset infinite.
Double click on control adds Color Point. Double click on Color Points hadle to chose the color. Click and drag on handle to move the Color Point. To remove the Color Point click and drag mouse down.
Allows to offset Gradient along the Path.
Randomize offsets in lines
Make offset inifinite if checked.
Add sine function distortion for path.
Defines how two sine distortion mix with each other.
Add second sine function distortion for path.
Almost same parameters as in the Mask 1 tab, but with few options.
This parameter is optional, you can leave it to none if not need to blend two shapes.
Clones Parameters from Mask 1.
Except Base Points Density and Invert Path Direction

This parameters only need to provide back compability with older version of Volna. Not need to change this parameters in new setups.